
Editorial quick answer
How Solar Panels Are Installed
I size home battery backup around critical loads first, not marketing promises. Solar panel installation looks simple from the street, but the real job is a mix of roofing work, electrical work, permitting, and inspection. The crew is not just fastening panels to shingles. They are locating framing members, sealing roof penetrations, wiring the array […]
Who this is for
Homeowners using this topic to compare choices, identify tradeoffs, or prepare better questions.
What this cannot promise
A guaranteed bill reduction, output, runtime, incentive, code approval, interconnection result, or project-specific electrical design.
Assumptions, date, and local checks
Costs and performance depend on location, date, model, configuration, weather, tariffs, utility rules, program funding, installation details, and household loads. Incentive, net-metering, code, battery-sizing, and electrical statements require current jurisdiction and source checks. Confirm project-specific details with the serving utility, program administrator, manufacturer, and a qualified electrician or installer.
How evidence is labeled
Mike context
Limited to his 20 years as an electrician, going solar in 2019, and having no installer ties.
Manufacturer specification
Maker-published data for an identified model or version, not an independent measurement.
Public source
Utility, government, program, code, standards, or other dated public information.
Estimate
Math based on stated inputs and assumptions, not a quote or guarantee.
Editorial analysis
SunBacked’s synthesis of tradeoffs, separated from sourced facts.
I size home battery backup around critical loads first, not marketing promises. Solar panel installation looks simple from the street, but the real job is a mix of roofing work, electrical work, permitting, and inspection. The crew is not just fastening panels to shingles. They are locating framing members, sealing roof penetrations, wiring the array safely, connecting equipment to your service panel, and making sure the system can pass both local inspection and utility approval.
If you are trying to figure out whether heat is costing you real production, That is why the visible part of the install is only part of the story. Good flashing, correct attachment spacing, clean conduit runs, proper grounding, and careful commissioning matter more than whether the panels look neat from the curb. If those details are handled correctly, the system should run quietly for decades with very little homeowner involvement.
The Short Answer
Most residential solar installations follow the same sequence: site assessment, system design, permits and utility paperwork, roof attachments, panel and inverter installation, electrical tie-in, inspection, and final permission to operate. The actual roof work often takes only one to three days, but the full project usually takes several weeks because the approvals and scheduling happen before and after the crew visit.
During the physical install, mounts are secured into rafters or trusses, flashing is installed to protect the roof, rails or attachment hardware are aligned, panels are clamped into place, and wiring is routed to the inverter and electrical equipment. After that, the installer tests the system, completes inspection items, and waits for the utility to approve turn-on.
What This Means for a Homeowner
Homeowners do not need to manage the technical work themselves, but they should understand where installation quality usually goes right or wrong. The biggest risks are not the panels. They are roof penetrations, poor layout decisions, sloppy electrical runs, and weak post-install support.
- Ask how the crew confirms attachment points into framing instead of relying on roof decking alone.
- Ask what flashing method will be used and whether it matches your roofing material.
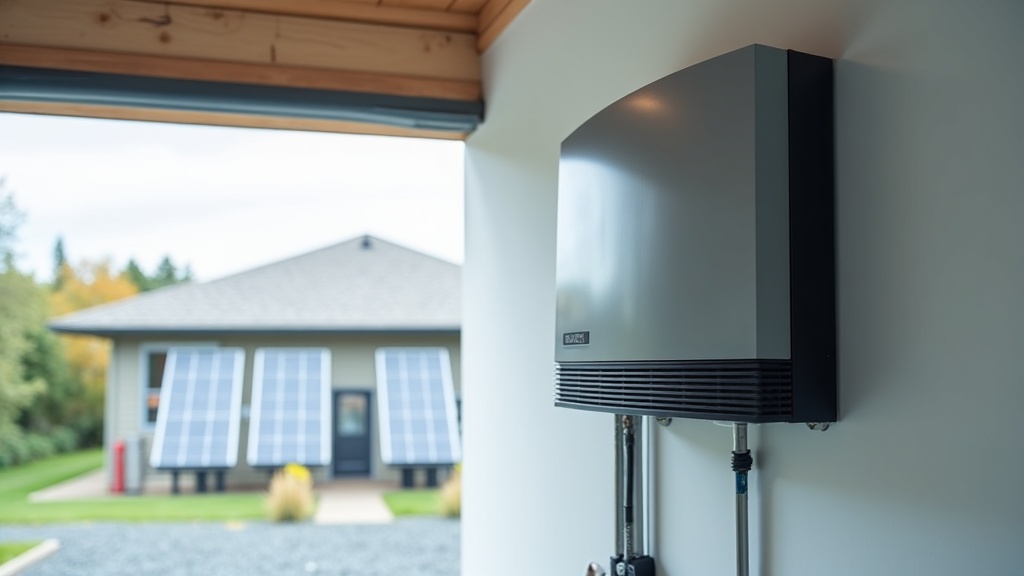
- Ask where the inverter, conduit, disconnects, and any battery equipment will be mounted before work starts.
- Ask who handles inspections, correction notices, monitoring setup, and service calls after the system is turned on.
Those questions quickly show whether an installer is focused on long-term workmanship or just trying to close the project fast. A strong installer should be able to explain the plan clearly before a single hole is made in the roof.
How Solar Panels Are Actually Installed
The process usually starts with a site visit. The installer checks roof age, pitch, orientation, shading, usable space, and the condition of the main electrical panel. They also review your historical power usage so the design is based on real consumption instead of a rough estimate. That information becomes the plan set used for engineering, permitting, and the installation crew.
Before installation day, most projects also move through permit approval and utility interconnection paperwork. That part is slow, but it matters because the crew should be working from an approved layout that accounts for fire setbacks, structural loading, equipment placement, and local code requirements. If the design changes in the field, the installer should be able to explain why.
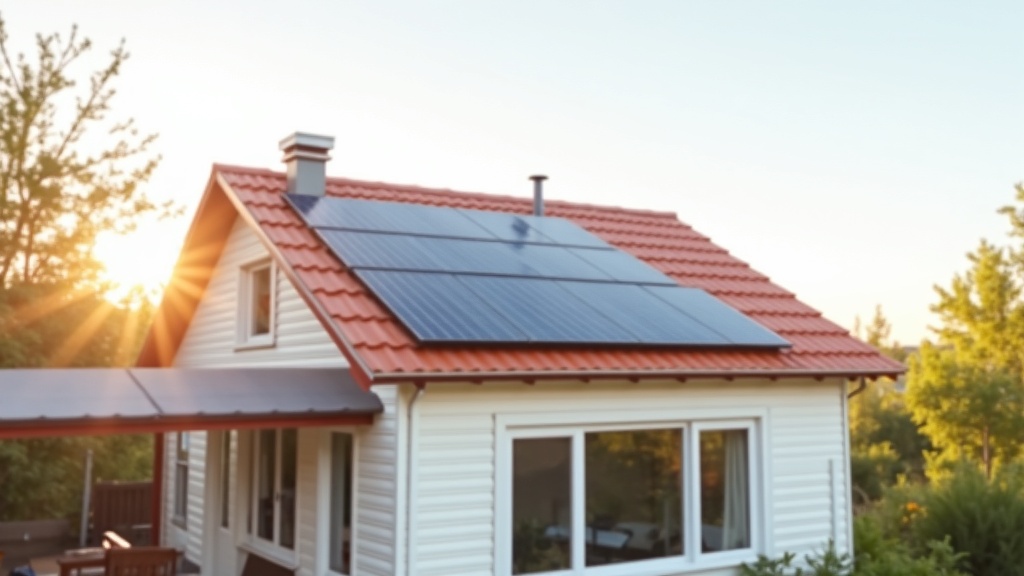
Once approvals are in place, the crew marks attachment points, fastens the mounting system into structural members, and seals each penetration with proper flashing. On a shingle roof that usually means locating rafters carefully, drilling pilot holes, setting flashed attachments, and checking rail alignment so the finished array sits flat instead of twisting across the roof plane.
Panels are then installed and wired into strings or module-level electronics such as microinverters or power optimizers. From there, the system is connected to the inverter and to the home’s electrical equipment, with labeling, grounding, rapid shutdown components, and overcurrent protection added to meet code. Clean wire management matters here because loose conductors, poorly supported conduit, or rushed terminations create the kind of service issues that show up later.
What Happens After the Crew Leaves
Installation is not finished the moment the panels are on the roof. The system typically needs a local inspection to verify that the completed work matches the approved plans and satisfies structural and electrical code. If the inspector wants corrections, the installer has to make them before the project can move forward.
After local approval, the utility may still need to issue permission to operate. In many areas that means meter work, final interconnection review, or both. Only after that final sign-off does the installer officially energize the system, confirm production, and walk the homeowner through monitoring and shutdown basics.
Bottom Line for Homeowners
Solar panels are installed through a controlled sequence, not a single day of roof work. Design, permits, roof attachments, electrical connection, inspection, and utility approval all affect whether the finished system is safe, watertight, and dependable. The parts you cannot see usually matter more than the panels you can.
If you are comparing bids, focus less on sales language and more on installation standards, roof experience, electrical quality, and what happens after commissioning. A well-installed solar system should feel uneventful once it is running: it produces power, passes inspection, and stays out of your way.
What Usually Saves the Most Money
The money-saving move is usually not finding the most exciting hardware. It is sizing the system around real usage, choosing equipment that fits the job, and avoiding upgrades that solve a fantasy outage instead of the one you are actually preparing for.
I also think homeowners make better decisions when they separate resilience goals from bragging-rights goals. Once you know whether you are solving for essentials, comfort, or near-whole-home backup, the comparison gets much clearer and wasted spending usually drops fast.
That is the frame I trust most: define the loads, define the outage scenario, and then buy only the gear that materially improves the plan.
What I Would Compare Before Buying
If I were shopping this category for my own garage or outage kit, I would compare battery chemistry, warranty length, inverter size, and recharge speed before I paid much attention to app features or flashy marketing claims. Those practical specs decide whether the unit still feels useful after the novelty wears off.
I would also look closely at how the unit is actually going to live in the house. A battery that is too heavy to move, too small for the loads you care about, or too slow to recharge after a real outage can still be the wrong buy even if the chemistry itself is solid.
That is why I prefer turning chemistry into a decision filter instead of the whole decision. It matters a lot, but only inside a backup plan that already makes sense for your loads, your budget, and your outage pattern.
How I Would Size This for a Real Outage
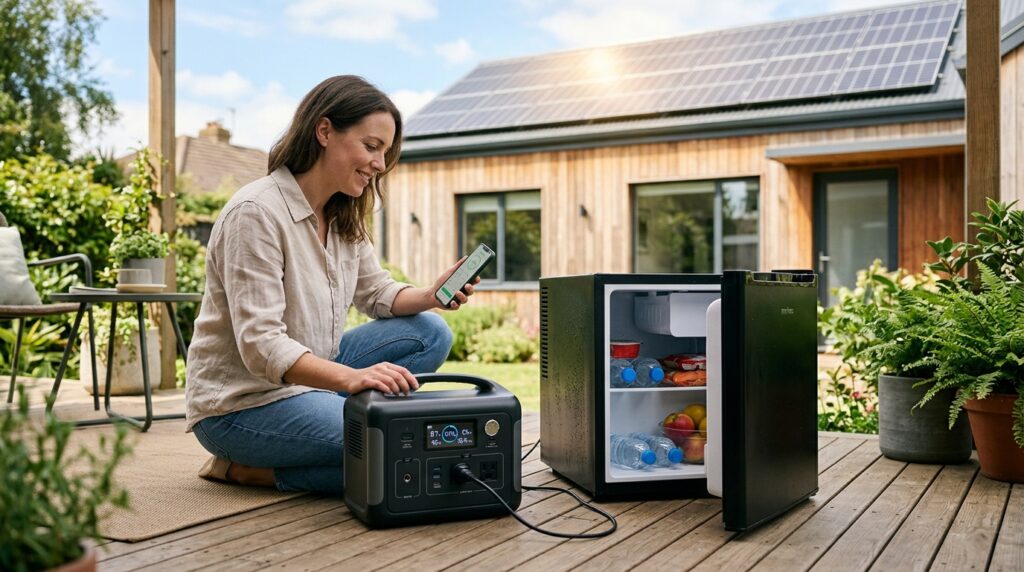
When I sanity-check a backup plan, I start with the outage version that actually happens most often: fridge, router, a few lights, phone charging, and maybe one comfort item. That tells me a lot faster whether the unit is solving a real household problem or just sounding impressive on a product page.
I would then map runtime against recharge, because a battery that looks decent on paper can still become annoying if it takes too long to refill between outages or between heavy evening use and the next day. For homeowners, that recharge reality usually matters more than a flashy surge number.
If the goal is overnight essentials, I would rather buy a right-sized unit with honest expectations than stretch for something marketed like whole-home backup when it really is not. That is the difference between a practical resilience purchase and an expensive compromise that leaves you disappointed the first time the grid stays down longer than expected.
That is also why I keep coming back to load discipline. Once you know what truly has to stay on, it gets much easier to decide whether a portable station is enough, whether you need a larger home battery plan, or whether a generator still belongs somewhere in the mix.
Before you buy, I would also compare LiFePO4 portable power stations against lighter legacy lithium-ion options so you are making an honest tradeoff between weight, cycle life, and long-term value instead of just buying the first battery spec that sounds modern.
Recommended Tools and Products
If you are comparing real options instead of just reading spec sheets, I would start with LiFePO4 portable power stations, smart home energy monitors, and folding solar panels for power stations because those three categories usually tell you faster whether the backup plan is actually practical.
- LiFePO4 portable power stations are the cleanest starting point for most homeowners who want safer indoor backup and better long-term cycle life.
- Smart home energy monitors help you size the battery around real loads instead of guessing from labels or panic-shopping after an outage.
- Folding solar panels matter when you want a realistic way to extend runtime during multi-day outages without depending only on the wall.
Sources, uncertainty, safety, and affiliate disclosure
Check named sources for their publication date, geography, exact product, utility, and jurisdiction. Product specifications and programs change. Estimates are not guarantees. Electrical work, service upgrades, storage systems, transfer equipment, interconnection, and code compliance should be reviewed by the serving utility and a qualified electrician or installer as appropriate.
Some links may be affiliate links. SunBacked may earn a commission at no added cost to you; that does not determine editorial conclusions.